Now that you have a domain, let's set up WordPress!
First off, let's explain why you need Wordpress to begin with. Before WordPress or any content management systems (CMS) came out, it was pretty dififcult for non-technical people to make websites. You would have to hire a Web Designer to code and continually update your information. Now with WordPress, you can change and update your website yourself.
With our optimized Client Area, it's a breeze to setup Wordpress.
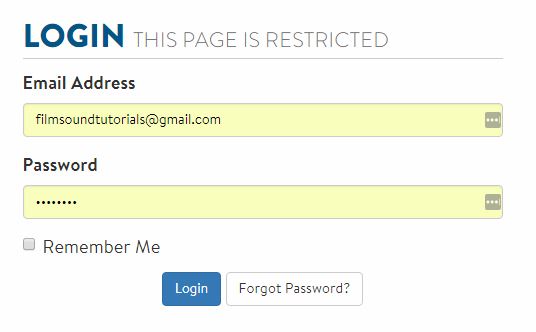
First, log into our Client Area at: https://my.123host.me/
Then on our Client Area, click the Services button.
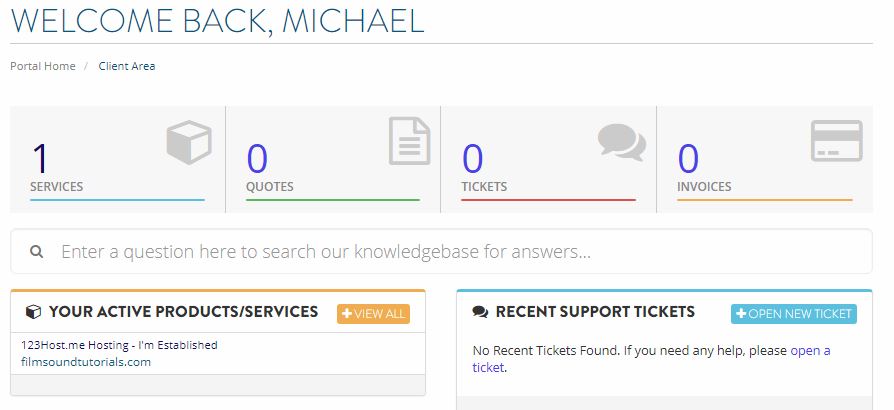
Then click the green "Active" button on the domain hosting service you'd like to install WordPress on.
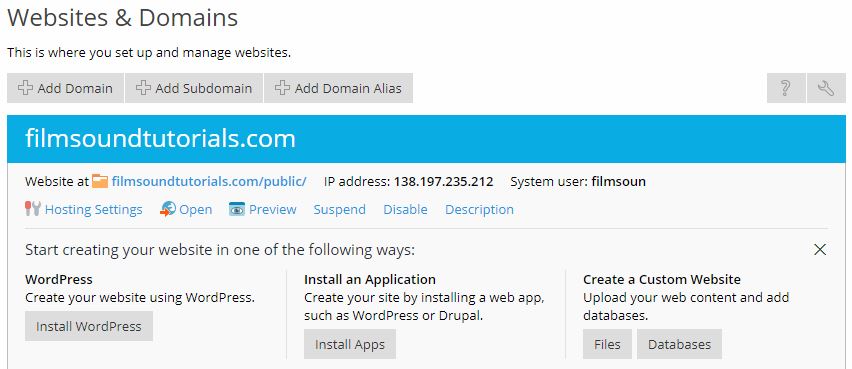
Once on the Domain Service Page, scroll down to the bottom and click on the Plesk Control Panel button.
After clicking the button, you should be automatically logged into our Plesk Control Panel. Click on the "Install WordPress" button and following the instructions.
During the WordPress installation, it's going to ask you to input a few different settings and passwords. Make sure you write them down and save them for safe-keeping in case you need to modify your WordPress setup at a later date.
After installing WordPress, head onto our next tutorial describing how to add content to your site: Building a Wordpress Site
